Note: when we use images in inkscape
or vectors in general, we uses svg images, if u have a tree that
is not svg use this website,
convertio.co
but not every image can be converted to svg
Note: remember images needs to be
noncpoyright if u havent gotten promition from the owner
Click on the
tree image and press
D for
Dropper
tool
Note: if u duplicate the trees they
will stack on eachother so just move it
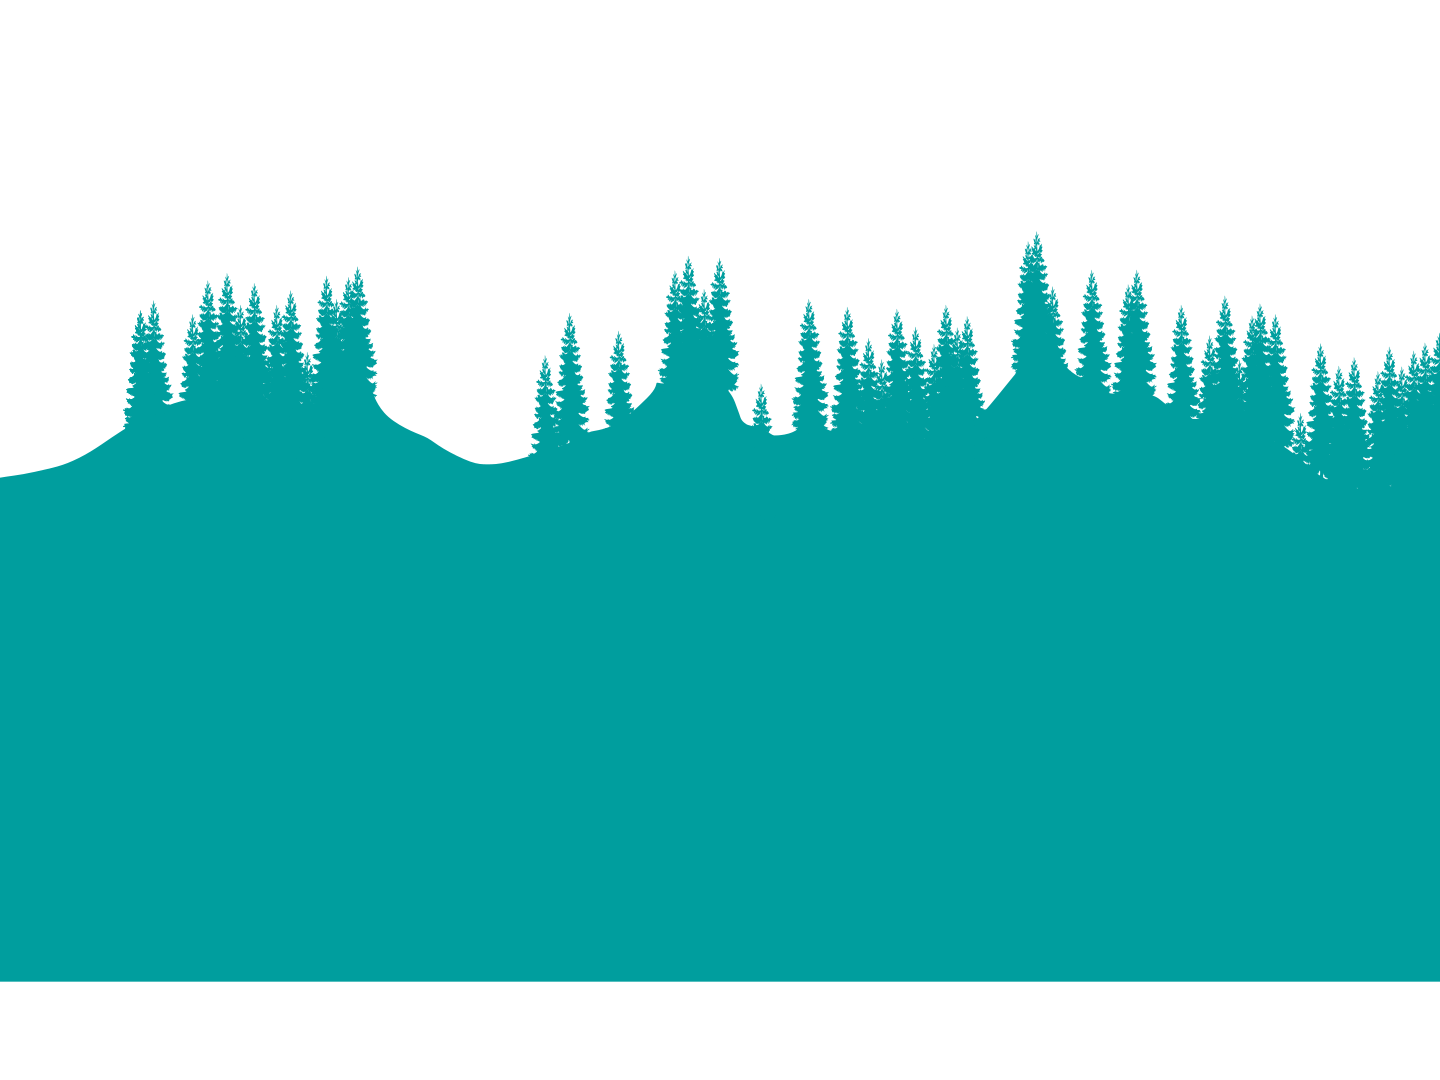
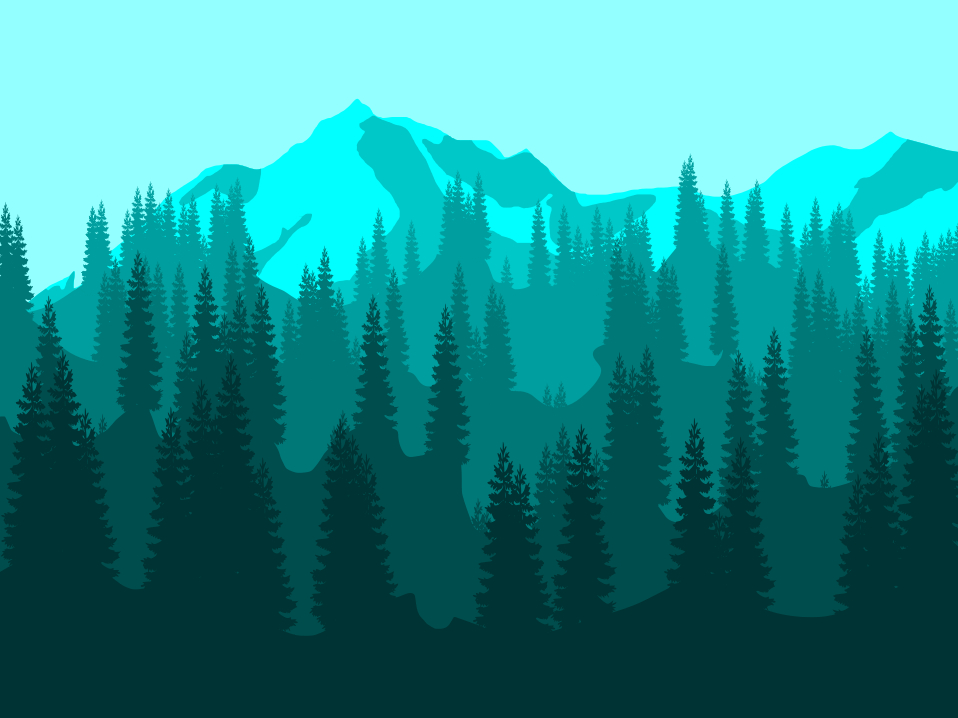
Add more Trees
Note: ive only used 1 tree but ive
changed the height and width on some fx to make a small tree i
just dragged it more under the gound and made it more slim
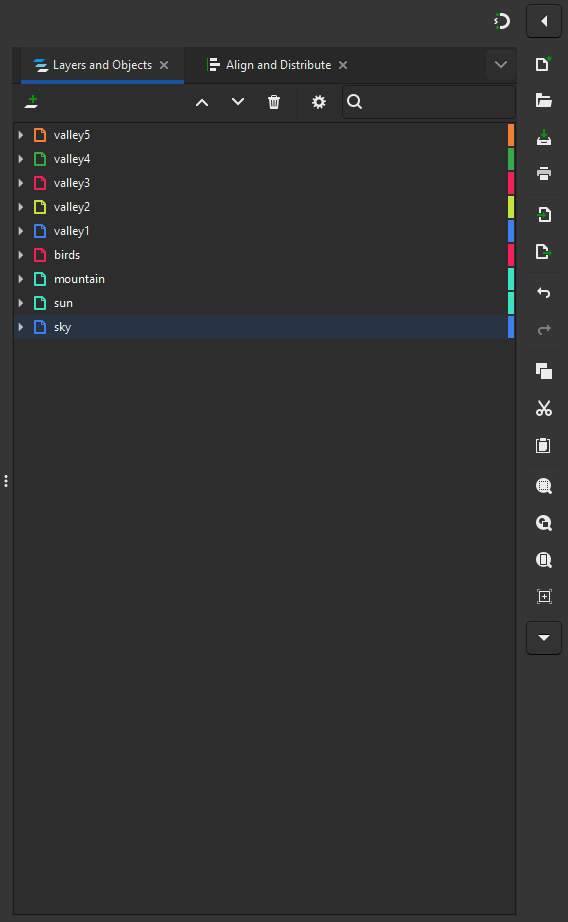
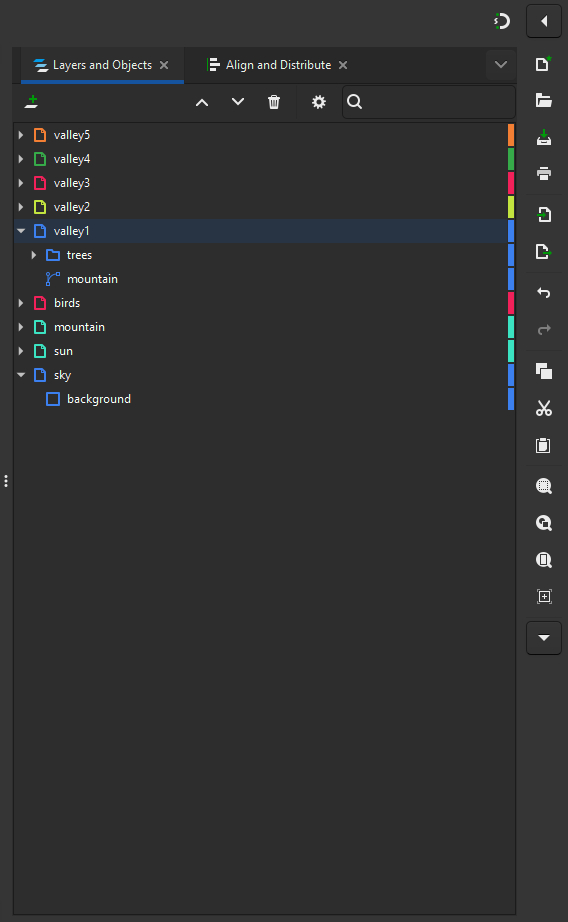
16. Group Trees
Click on the first on the right
side
tree
Hold Shift and
click on the last
tree
Press Ctrl + G to
group them all into a
folder
rename folder to
Trees
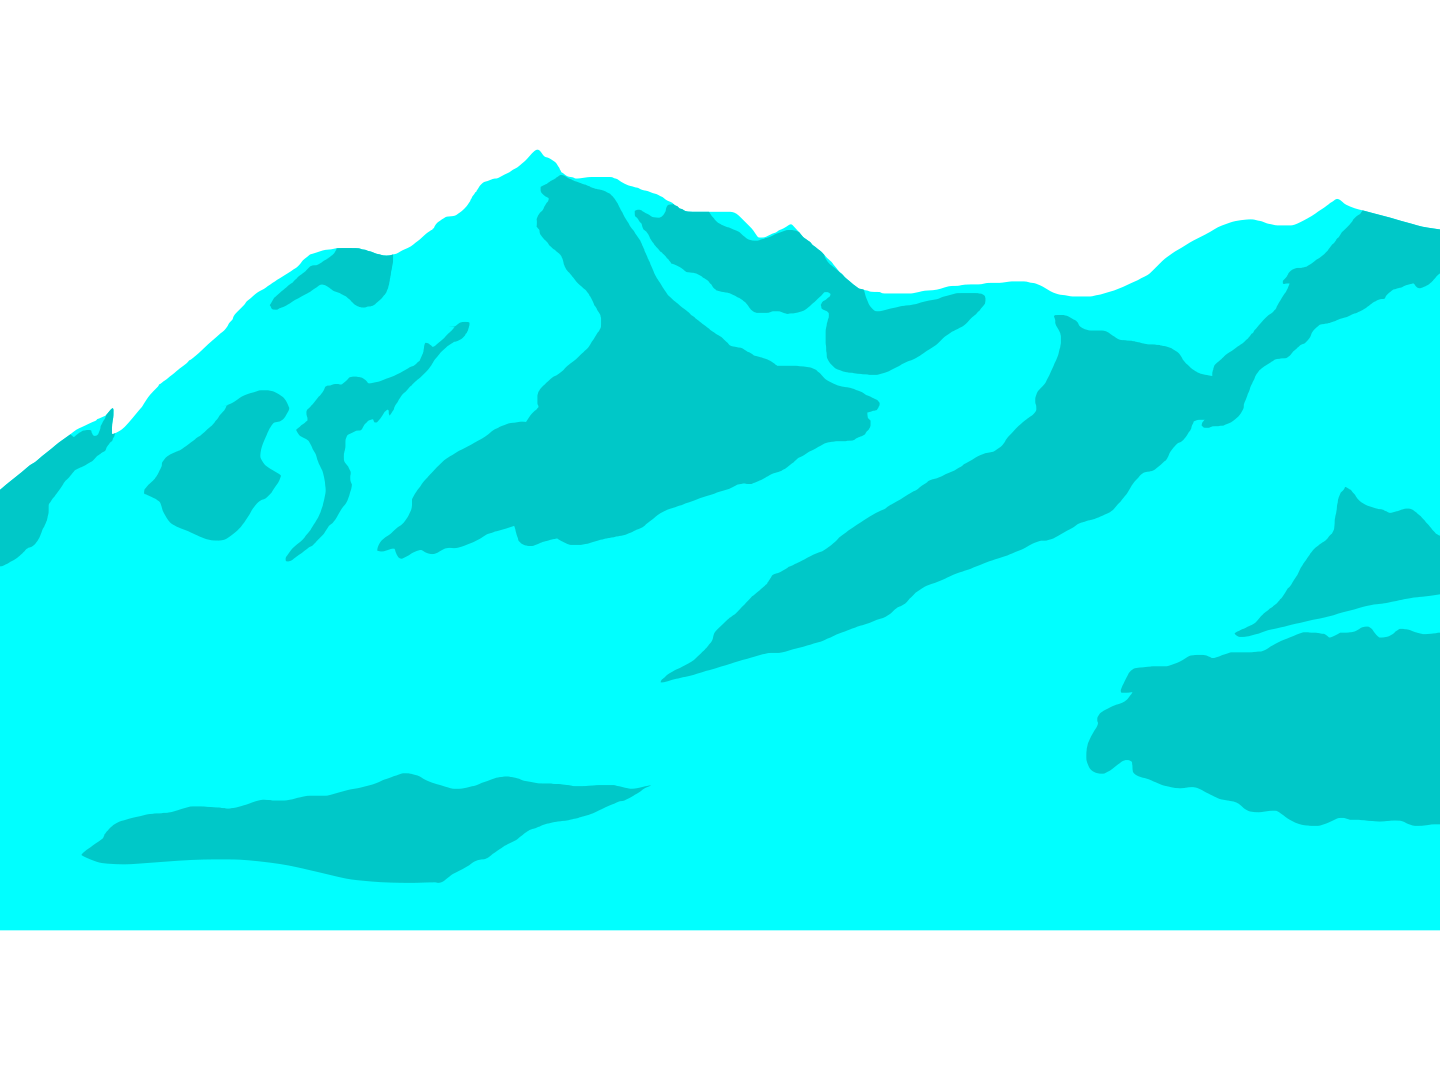
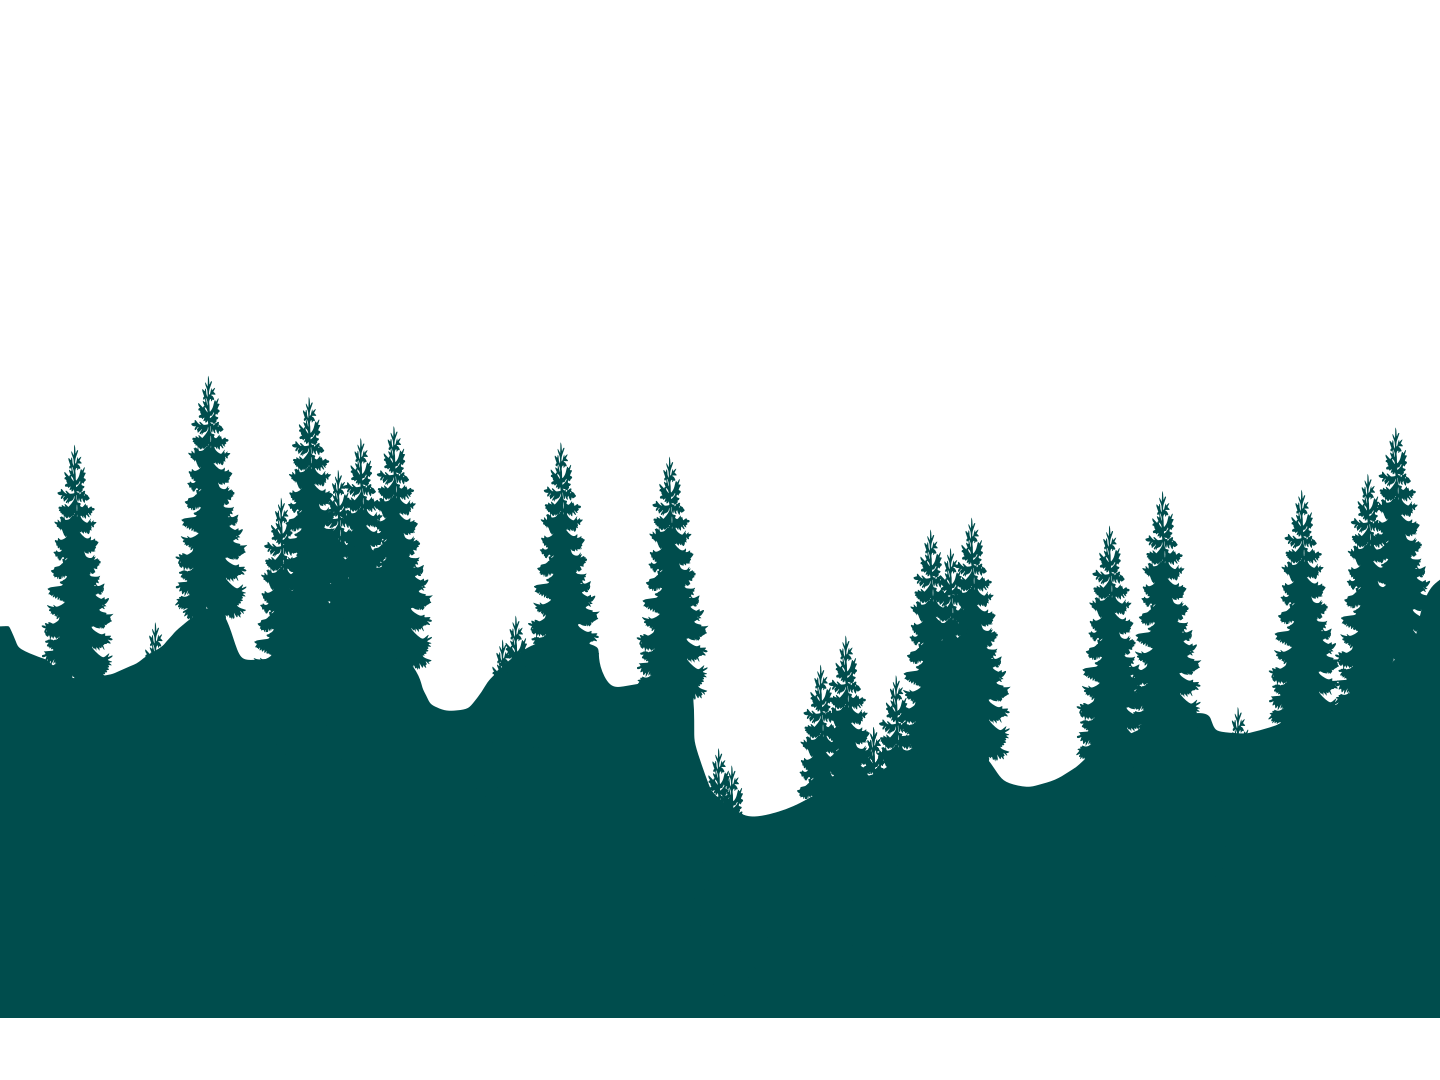
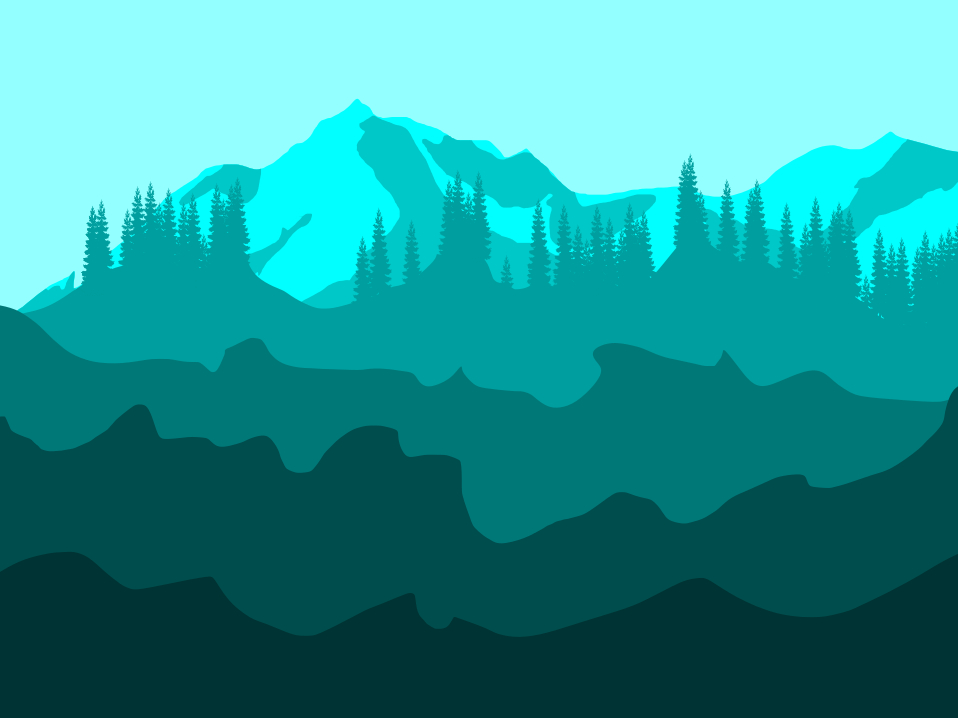
17. Create Valley 2-4
Repeat the process to create
Valley2,
Valley3 and
Valley4
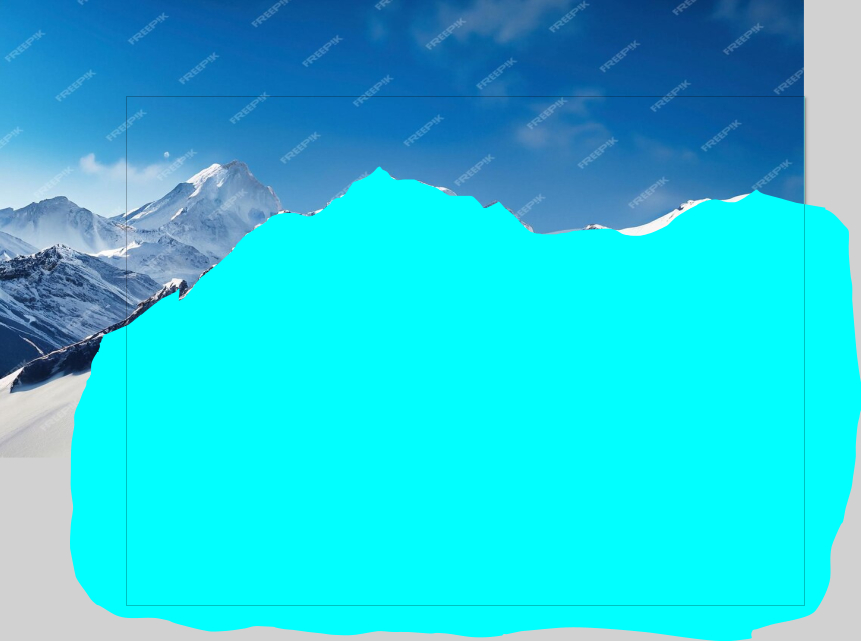
Draw Vallys using the
Pencil Tool and mask them similarly.
Add and group trees within the
valley layers
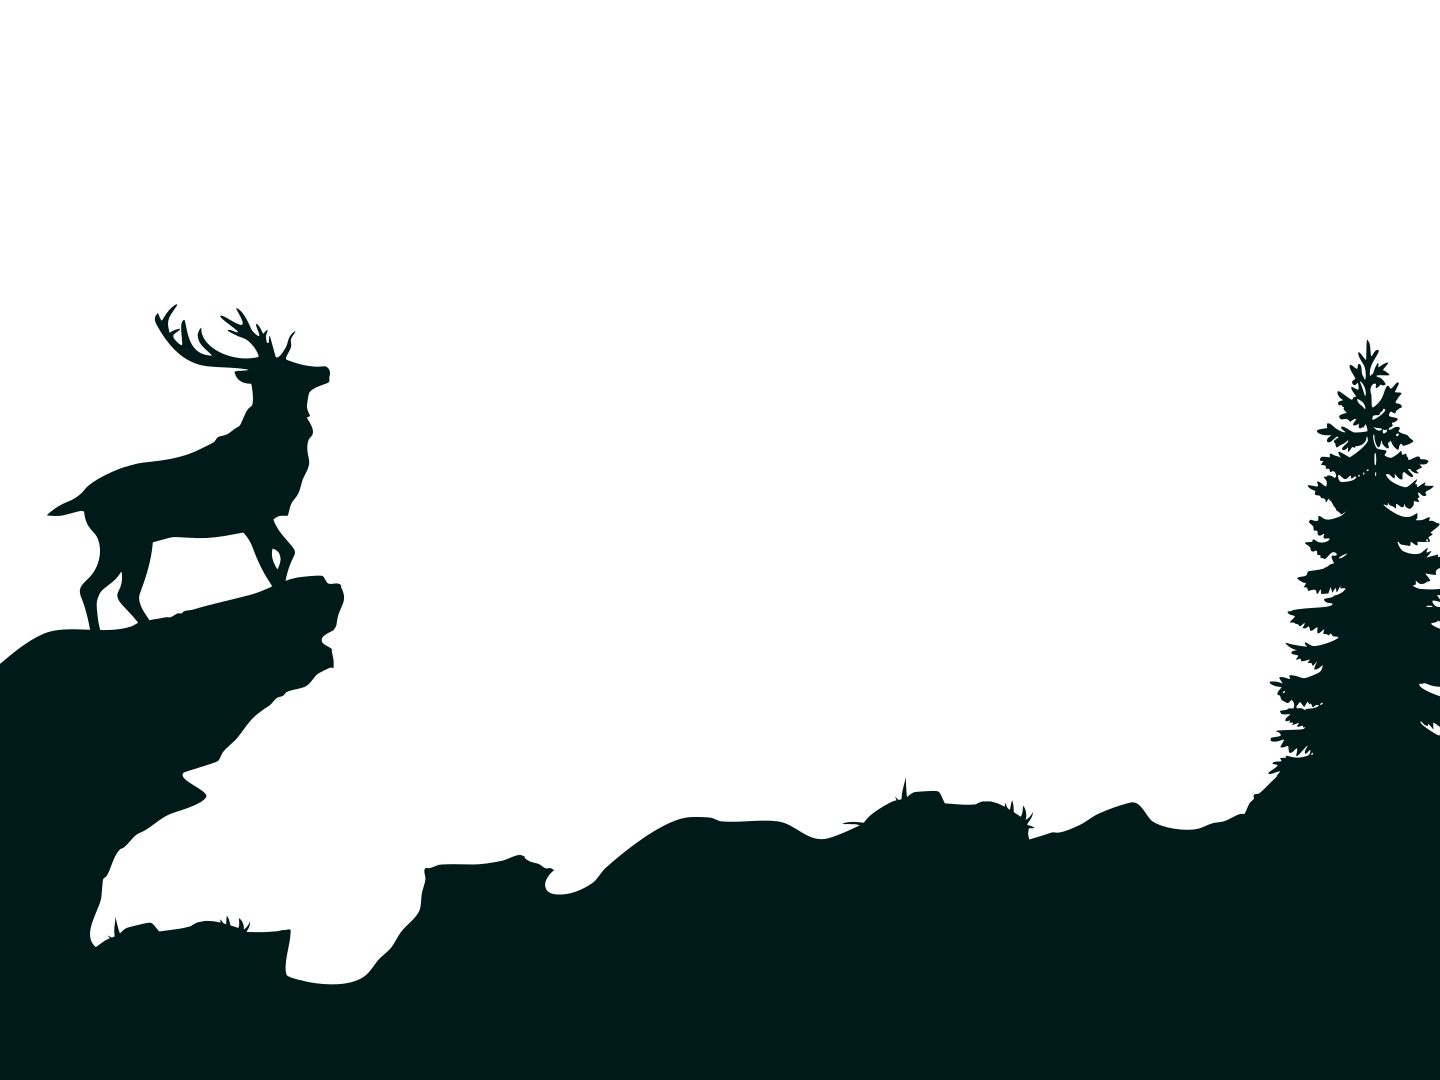
18. Create Valley 5
Draw a valley in Valley5
Draw a cliff formation on the left side of the valley (for the
animal)


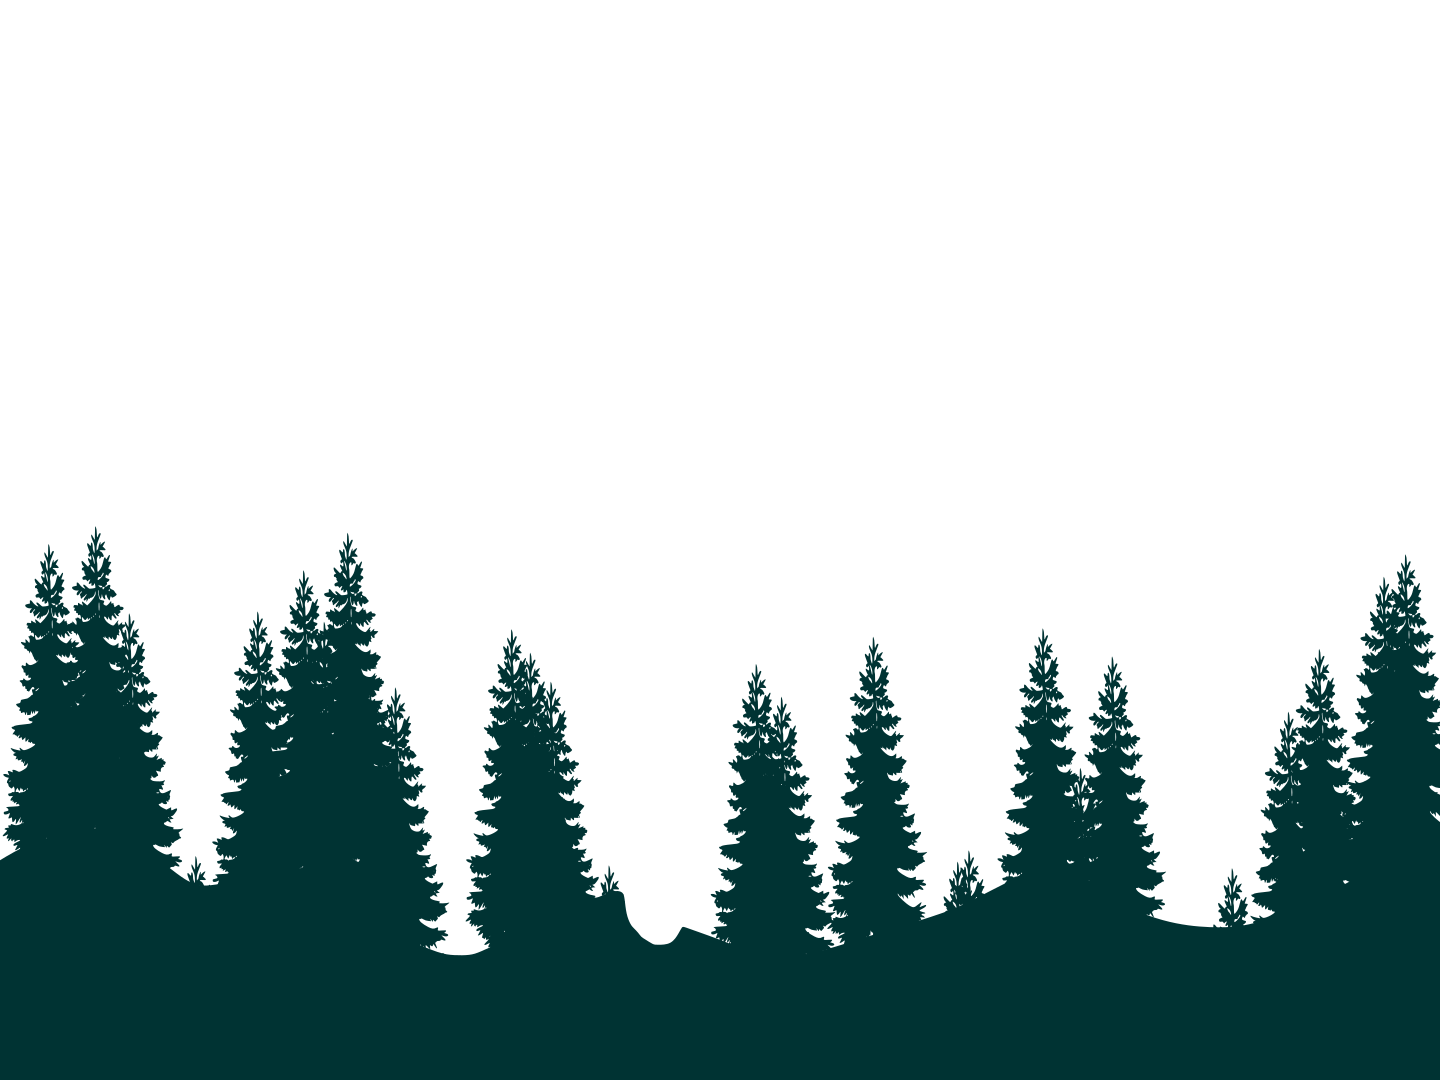


 on every layer except one on the right side